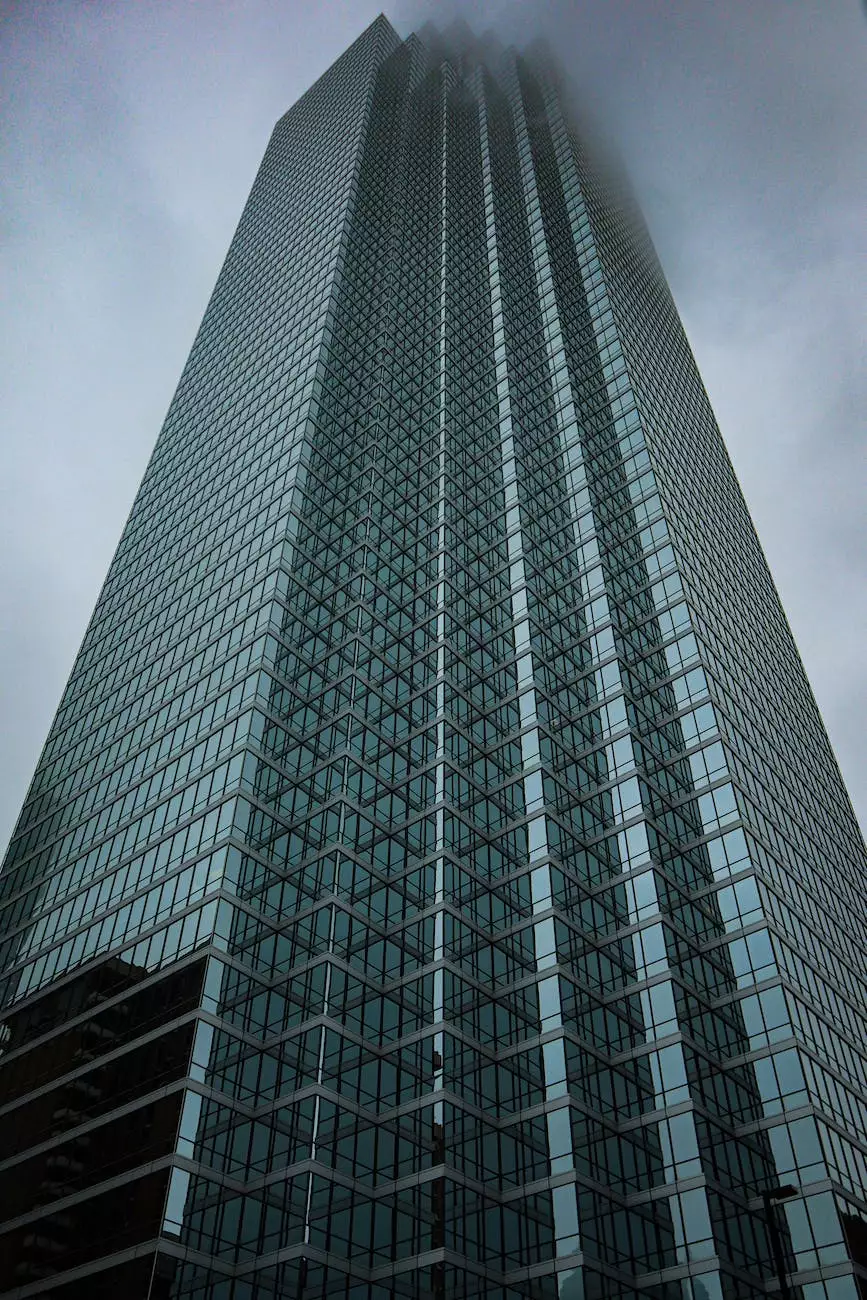
How To Create a Duotone Image in Photoshop
Technology
by SEO Pros Dallas
Introduction
Welcome to SEO Pros Dallas, your go-to resource for expert digital marketing tips and techniques. In this comprehensive guide, we will walk you through the process of creating stunning duotone images using Adobe Photoshop. Whether you are a professional photographer, web designer, or a creative enthusiast, mastering the art of duotone can take your visuals to a whole new level.
What is a Duotone Image?
In its simplest sense, a duotone image consists of two colors, often used in combination with black and white. This technique allows you to add depth, dimension, and a unique artistic touch to your photographs. Duotones have gained popularity in the digital age due to their ability to evoke emotions and create visually striking effects.
Step-by-Step Guide
Step 1: Choosing the Right Image
The first step in creating a duotone image is selecting the perfect photograph. Look for an image that has a good range of colors and contrast. High-resolution images work best, as they provide more detail and flexibility during the editing process.
Step 2: Opening the Image in Photoshop
Open Adobe Photoshop on your computer and import the chosen image. Go to File > Open, and navigate to the location of your image file. Click on it and hit the "Open" button.
Step 3: Converting to Grayscale
To create a duotone effect, we need to convert the image to grayscale first. Go to Image > Mode > Grayscale. Photoshop will prompt you to discard color information—click "Discard" to proceed.
Step 4: Adjusting Levels
Now that we have a grayscale image, it's time to adjust the tonal range. Go to Image > Adjustments > Levels. A graph with three sliders will appear. Drag the black and white sliders towards the center to enhance contrast and details in your image. Play around with these settings until you achieve the desired effect.
Step 5: Applying the Duotone Effect
With our grayscale image ready, it's time to apply the duotone effect. Go to Image > Mode > Duotone. A new dialog box will appear, offering a range of customization options. Experiment with different color combinations, opacities, and curves to achieve the desired look. Don't be afraid to explore your creative side!
Step 6: Final Touches and Exporting
Once you are satisfied with the duotone effect, it's time for some final touches. You can experiment with additional adjustments like brightness, contrast, and saturation. When you are happy with the result, go to File > Save As and choose the desired file format (e.g., JPEG, PNG). Select an appropriate location on your computer and hit the "Save" button.
Benefits of Duotone Images
Duotone images offer a plethora of benefits for businesses and creatives alike:
- Enhanced Visual Appeal: Duotones add a modern and eye-catching element to your visuals, making them stand out from the competition.
- Brand Consistency: By incorporating your brand colors into duotone imagery, you can create a cohesive and recognizable visual identity.
- Emotional Impact: The careful selection of colors in duotones allows you to evoke specific emotions and connect with your audience on a deeper level.
- Versatility: Duotones work well across various mediums, including websites, social media, print materials, and more. They can adapt to different formats and maintain their impact.
- Increased Engagement: With their unique and intriguing appearance, duotone images grab attention and encourage users to stay on your website or explore your content further.
Conclusion
Congratulations! You have now learned how to create captivating duotone images using Adobe Photoshop. With the step-by-step guide provided by SEO Pros Dallas, you can take your visual content to new heights and engage your audience on a whole new level. Experiment, be creative, and enjoy the process of transforming ordinary images into remarkable works of art.
SEO Pros Dallas - Business and Consumer Services - Digital Marketing
Contact us for all your digital marketing needs: [email protected]
© 2023 SEO Pros Dallas. All rights reserved.


